Photographing dark chocolate demands finesse, but it rewards with images that evoke rich indulgence. A dark chocolate photo communicates luxury and texture through imagery—a powerful tool for food bloggers, brands, or enthusiasts. This guide explains what makes a successful dark chocolate photo and how to achieve irresistible visuals.
Light, angles, styling, and editing all play roles in creating stunning shots of dark chocolate. Let’s explore each element to help you consistently capture its luscious appeal.
Why a Dark Chocolate Photo Captures Attention
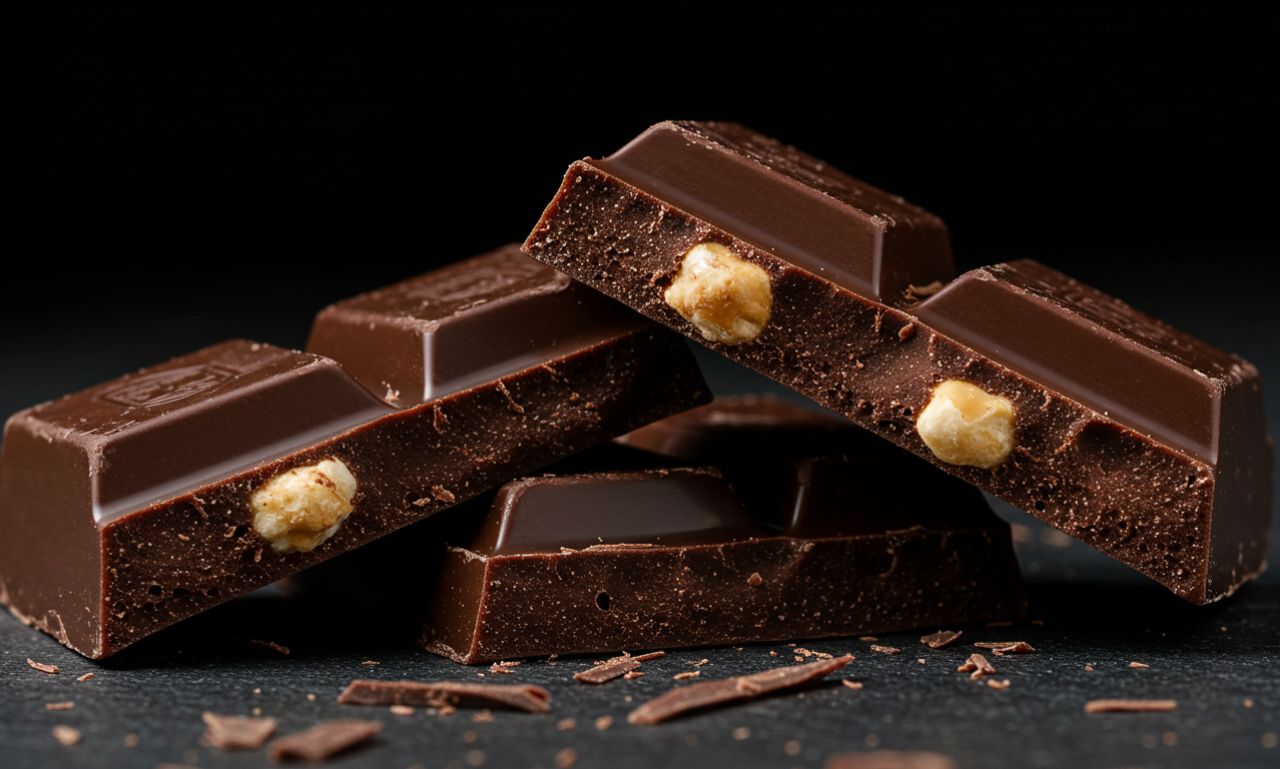
A darkchocolate photo stands out due to its depth, complex texture, and sheen. Dark chocolate reflects light in striking ways, producing highlights that contrast beautifully with matte, rich brown tones—making viewers crave what they see.
Delivering mouthwatering results hinges on mastering visual storytelling through lighting and styling.
Lighting Essentials for Dark Chocolate Photo
Natural, diffused light works best for a dark chocolate photo. Soft, indirect window light brings out surface shine without harsh glare. Reflectors fill shadows, emphasizing texture without flattening the image Welpix. Avoid overhead lighting or flash—they create reflections and alter rich tones.
Composition and Framing in a Dark Chocolate Photo
Apply composition techniques like the rule of thirds to balance your dark chocolate photo Serious Eats. Place chocolate off-center or use leading lines like cocoa beans or drizzles to draw the eye. Filling the frame showcases texture and shine—especially effective in macro shots Welpix Mostly Blogging.
Styling Tips That Enhance a Dark Chocolate Photo
Choose backgrounds that complement, not detract from, the chocolate—neutral tones like gray or wood work well Welpix. Add minimal props—sea salt flakes, cocoa powder, or berries—to enhance without crowding. Maintain simple, coherent styling to elevate the main subject in your darkchocolate photo.
Macro & Texture Focus in DarkChocolate Photo
Close-up, macro shots tell a story through surface detail. Highlight the glossy snap, delicate textures, and melt lines. Focus on sharpness to make these details pop Welpixphotographyintel.com. The right angle and lighting bring forward depth, enhancing sensory appeal.
Handling Reflections and Touch Incorrect in Dark Chocolate Photo
Smudges and fingerprints ruin the look. Avoid them with gloves or a microfiber cloth Western Chocolate Company Ecole Chocolate. Use a dulling spray on distracting reflections and reposition reflective props. Ensure the chocolate looks clean and refined for the best darkchocolate photo.
Camera Settings for a DarkChocolate Photo
Aim for lower ISO values to reduce noise. Use a moderate aperture (f/3.5–5) to isolate your subject. Adjust shutter speed to match lighting while keeping clarity. Set custom white balance to preserve rich color tones and avoid yellow casts Serious Eats.
Editing Techniques for Dark Chocolate Photo
Post-processing polishes a darkchocolate photo. Adjust brightness, contrast, and clarity—emphasize texture. Crop to focus on the chocolate. Correct white balance for true color representation. These edits elevate mood and realism Western Chocolate Company.
Advanced Tricks for Stunning Dark Chocolate Photo
-
Capture melting or dripping chocolate to add motion.
-
Incorporate steam or powdered sugar dusting for sensory storytelling.
-
Use glass or mirrored surfaces to create reflections and depth Welpix.
These techniques enrich content and audience appeal.
Common Mistakes to Avoid in a DarkChocolate Photo
Avoid these pitfalls in your darkchocolate photo:
-
Direct flash creating glare
-
Busy, distracting prop backgrounds
-
Poor focus on texture
-
Color casts from mixed lighting
-
Overcrowding the frame with props
Correct these elements before shooting for polished results.
Examples and Inspiration
Many food photographers face the challenges of capturing rich, dark tones. For creative inspiration, explore guides like “Chocolate Photography Tips and other Brown Foods,” which address making brown hues appear dynamic and appetizing Food Photography Academy. Other articles like “10 Techniques for Stunning Chocolate Product Photography” offer practical tips on composition, lighting, and styling Welpix.
Conclusion
A successful darkchocolate photo tells a story of texture, tone, and indulgence. Prioritize soft light, thoughtful composition, clean styling, and refined editing. These elements transform everyday chocolate into mouthwatering imagery.
Apply these techniques consistently to capture visuals that entice and engage. Whether for social media, product branding, or artistic expression, a standout darkchocolate photo elevates the viewing—and tasting—experience.